src.shape, noise.shape# 영상의 필터링
import numpy as np
import cv2
import sys
### 엠보싱 필터
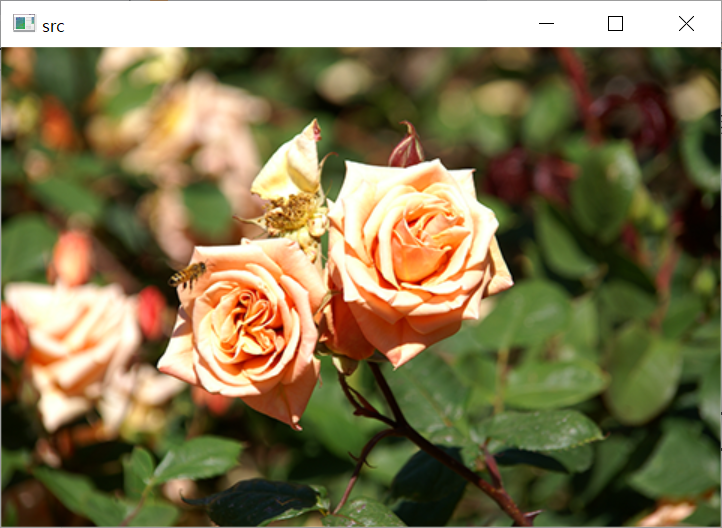
src = cv2.imread('./data/rose.bmp', cv2.IMREAD_GRAYSCALE)

emboss = np.array([[-1, -1, 0],
                   [-1, 0, 1],
                   [0, 1, 1]
                  ], np.float32)

dst = cv2.filter2D(src, -1, emboss, delta=128)

cv2.imshow('src', src)
cv2.imshow('dst', dst)
cv2.waitKey()
cv2.destroyAllWindows()
-->


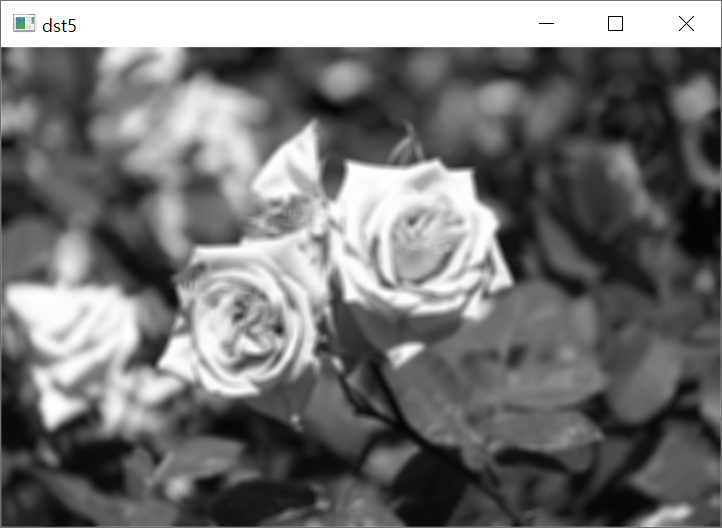
# 영상의 블러링
### 평균값 필터
src = cv2.imread('./data/rose.bmp', cv2.IMREAD_GRAYSCALE)

blur3 = np.array([[1, 1, 1],
                   [1, 1, 1],
                   [1, 1, 1]
                  ], np.float32) * 1/9

blur5 = np.array([[1, 1, 1, 1, 1],
                   [1, 1, 1, 1, 1],
                   [1, 1, 1, 1, 1],
                   [1, 1, 1, 1, 1],
                   [1, 1, 1, 1, 1]
                  ], np.float32) * 1/25

dst3 = cv2.filter2D(src, -1, blur3)
dst5 = cv2.filter2D(src, -1, blur5)

cv2.imshow('src', src)
cv2.imshow('dst3', dst3)
cv2.imshow('dst5', dst5)
cv2.waitKey()
cv2.destroyAllWindows()
-->


src = cv2.imread('./data/rose.bmp', cv2.IMREAD_GRAYSCALE)

cv2.imshow('src', src)

for ksize in (3, 5, 7):
    dst = cv2.blur(src, (ksize, ksize))
    desc = "Mean : %d x %d" % (ksize, ksize)
    cv2.putText(dst, desc, (10, 30), cv2.FONT_HERSHEY_SIMPLEX, 1.0, 255, 1, cv2.LINE_AA)
    cv2.imshow('dst', dst)
    cv2.waitKey()

cv2.destroyAllWindows()
-->


### 가우시안 필터
src = cv2.imread('./data/rose.bmp', cv2.IMREAD_GRAYSCALE)

cv2.imshow('src', src)

for sigma in range(1, 6):
    dst = cv2.GaussianBlur(src, (0, 0), sigma)
    desc = "Gaussian : sigma %d" % (sigma)
    cv2.putText(dst, desc, (10, 30), cv2.FONT_HERSHEY_SIMPLEX, 1.0, 255, 1, cv2.LINE_AA)
    cv2.imshow('dst', dst)
    cv2.waitKey()

cv2.destroyAllWindows()
-->


# 샤프닝 (영상 날카롭게 하기)
### 언샤프 마스크 필터
src = cv2.imread('./data/rose.bmp', cv2.IMREAD_GRAYSCALE)

cv2.imshow('src', src)

for sigma in range(1, 6):
    blurred = cv2.GaussianBlur(src, (0, 0), sigma)
    alpha = 1.0
    dst = cv2.addWeighted(src, 1+alpha, blurred, -alpha, 0.0)

    desc = "Gaussian : sigma %d" % (sigma)
    cv2.putText(dst, desc, (10, 30), cv2.FONT_HERSHEY_SIMPLEX, 1.0, 255, 1, cv2.LINE_AA)
    cv2.imshow('dst', dst)
    cv2.waitKey()

cv2.destroyAllWindows()
-->


# 잡음 제거 필터링
src = cv2.imread('./data/lenna.bmp', cv2.IMREAD_GRAYSCALE)

cv2.imshow('src', src)

for stddev in [10, 20, 30]:
    noise = np.zeros(src.shape, np.int32)
    cv2.randn(noise, 0, stddev)

    dst = cv2.add(src, noise, dtype = cv2.CV_8UC1)
    desc = "stddev : %d" % (stddev)
    cv2.putText(dst, desc, (10, 30), cv2.FONT_HERSHEY_SIMPLEX, 1.0, 255, 1, cv2.LINE_AA)

    cv2.imshow('dst', dst)
    cv2.waitKey()

cv2.destroyAllWindows()
-->


### 양방향 필터
src = cv2.imread('./data/lenna.bmp', cv2.IMREAD_GRAYSCALE)

noise = np.zeros(src.shape, np.int32)
cv2.randn(noise, 0, 5)
dst = cv2.add(src, noise, dtype = cv2.CV_8UC1)

dst_gaussian = cv2.GaussianBlur(dst, (0, 0), 5)
dst_bilateral = cv2.bilateralFilter(dst, -1, 10, 5)

cv2.imshow('src', src)
cv2.imshow('dst', dst)
cv2.imshow('dst_gaussian', dst_gaussian)
cv2.imshow('dst_bilateral', dst_bilateral)
cv2.waitKey()

cv2.destroyAllWindows()
-->


import random
src = cv2.imread('./data/lenna.bmp', cv2.IMREAD_GRAYSCALE)

# salt& pepper noise 생성 (전체 이미지의 1/10)
for i in range(0, int(src.size/10)):
    x = random.randint(0, src.shape[1] - 1)
    y = random.randint(0, src.shape[0] - 1)
    src[x, y] = (i % 2) * 255

gaussian_blur = cv2.GaussianBlur(src, (0, 0), 1)
medial_blur =cv2.medianBlur(src, 3)

cv2.imshow('src', src)
cv2.imshow('gaussian_blur', gaussian_blur)
cv2.imshow('medial_blur', medial_blur)
cv2.waitKey()
cv2.destroyAllWindows()
-->


# 영상의 기하학적 변환
### 참고 (행렬의 곱)
a = np.arange(12).reshape(4, 3)
b = np.arange(12).reshape(3, 4)
print(a)
print()
print(b)
-->
[[ 0 1 2]
[ 3 4 5]
[ 6 7 8]
[ 9 10 11]]
[[ 0 1 2 3]
[ 4 5 6 7]
[ 8 9 10 11]]
np.dot(a, b)-->
array([[ 20, 23, 26, 29],
[ 56, 68, 80, 92],
[ 92, 113, 134, 155],
[128, 158, 188, 218]])
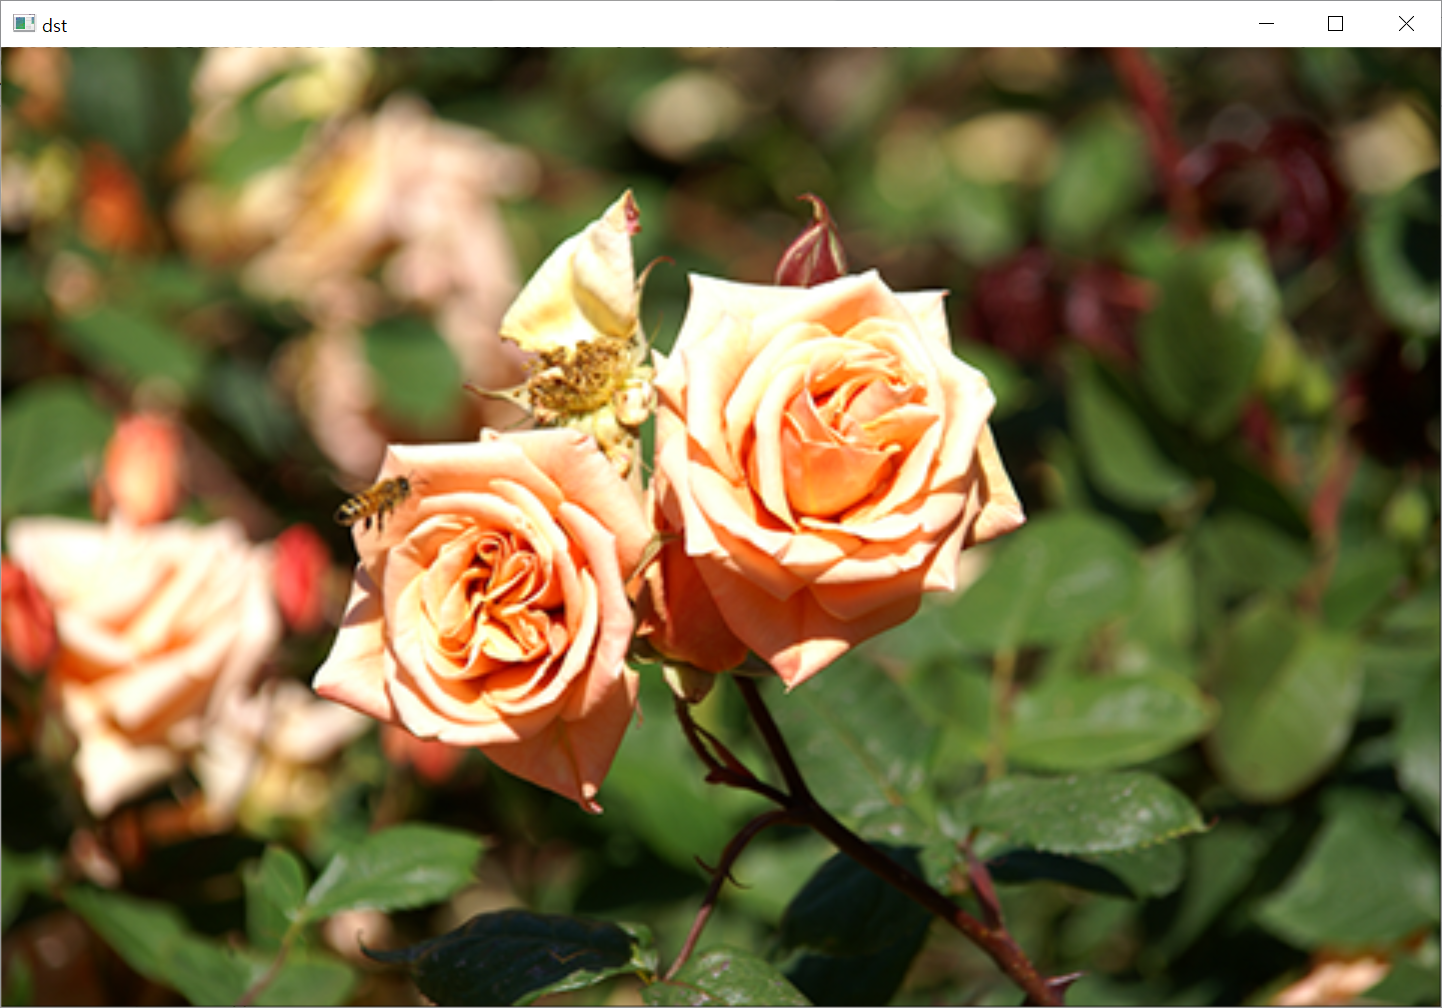
### 어파인 변환
src = cv2.imread('./data/tekapo.bmp')

rows = src.shape[0] # height
cols = src.shape[1] # width

src_pts = np.array([[0,0], [cols-1, 0], [cols-1, rows-1]]).astype(np.float32)

dst_pts = np.array([[50, 50], [cols-100, 100], [cols-50, rows-50]]).astype(np.float32)

M = cv2.getAffineTransform(src_pts, dst_pts )
dst = cv2.warpAffine(src, M, (0, 0))

cv2.imshow('src', src)
cv2.imshow('dst', dst)
cv2.waitKey()
cv2.destroyAllWindows()
-->


### 이동변환
src = cv2.imread('./data/tekapo.bmp')

a = 150
b = 100

M = np.array([[1, 0, a],
              [0, 1, b]], dtype=np.float32)

dst = cv2.warpAffine(src, M, (0, 0))

cv2.imshow('src', src)
cv2.imshow('dst', dst)
cv2.waitKey()
cv2.destroyAllWindows()
-->


### 전단 변환
src = cv2.imread('./data/tekapo.bmp')

# y축을 고정시키고 x값을 밀어 변환

rows = src.shape[0]
cols = src.shape[1]

mx = 0.3

M = np.array([[1, mx, 0],
              [0, 1, 0]], dtype=np.float32)

dst = cv2.warpAffine(src, M, (int(cols + rows*mx), rows))

cv2.imshow('src', src)
cv2.imshow('dst', dst)
cv2.waitKey()
cv2.destroyAllWindows()
-->


### 크기 변환
src = cv2.imread('./data/rose.bmp')

rows = src.shape[0]
cols = src.shape[1]

sx = 2
sy = 2


M = np.array([[sx, 0, 0],
              [0, sy, 0]], dtype=np.float32)

dst = cv2.warpAffine(src, M, (int(cols*sx), int(rows*sy)))

cv2.imshow('src', src)
cv2.imshow('dst', dst)
cv2.waitKey()
cv2.destroyAllWindows()
-->

src.shape--> (320, 480, 3)
src = cv2.imread('./data/rose.bmp')

dst1 = cv2.resize(src, (1920, 1280))
dst2 = cv2.resize(src, (0, 0), fx=4, fy=4)
dst3 = cv2.resize(src, (1920, 1280), interpolation=cv2.INTER_CUBIC)
dst4 = cv2.resize(src, (1920, 1280), interpolation=cv2.INTER_LANCZOS4)

cv2.imshow('src', src)
cv2.imshow('dst1', dst1[400:800, 500:900])
cv2.imshow('dst2', dst2[400:800, 500:900])
cv2.imshow('dst3', dst3[400:800, 500:900])
cv2.imshow('dst4', dst4[400:800, 500:900])
cv2.waitKey()
cv2.destroyAllWindows()
-->


반응형
'IT > Python' 카테고리의 다른 글
| 【OpenCV 4】Day5_유용한 기능 (0) | 2022.02.13 |
|---|---|
| 【OpenCV 4】Day3_유용한 기능 (0) | 2022.01.26 |
| 【OpenCV 4】Day2_주요 기능 (0) | 2022.01.25 |
| 【OpenCV 4】Day1_기초 사용법 (0) | 2022.01.21 |
| 【딥러닝 시작하기】03 다양한 신경망 (0) | 2021.12.17 |


